Wagyu Burgers & Aioli Recipe

This week, I thought I’d share with you this thing of beauty…

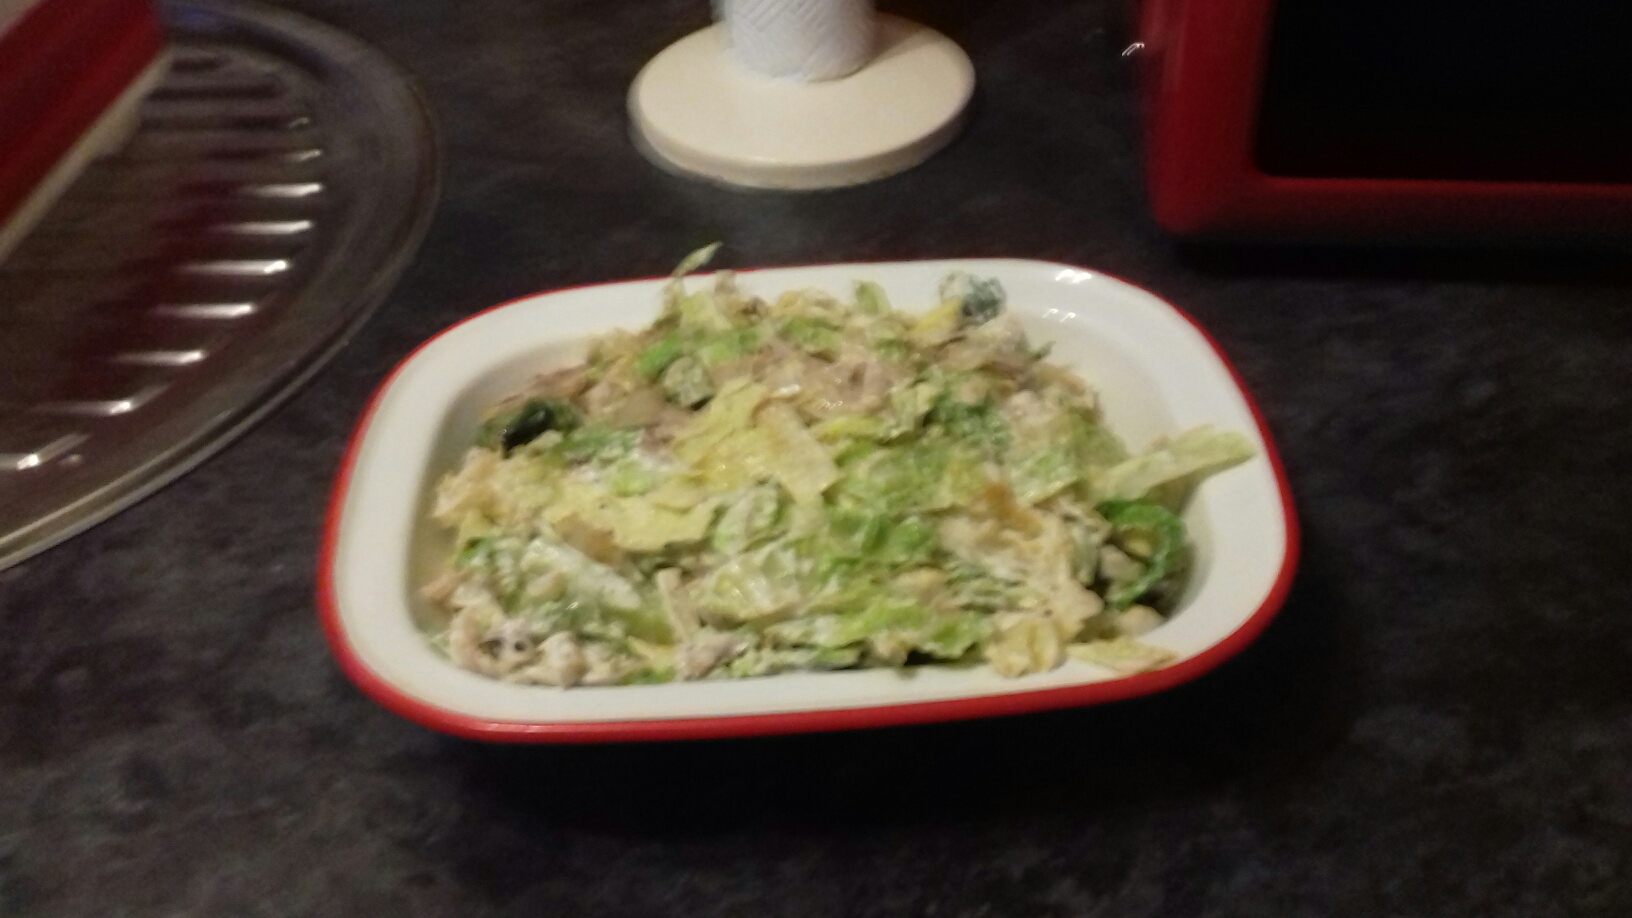
I’ve been working on my food photography skills. This isn’t a food blog, but it does feature a lot about food seeing as the saying ‘let food be thy medicine’ applies to people with diabetes more than others. As you can see, I have a long, long way to go…

I’m not a natural photographer. My pictures are often blurry. They definitely lack that crystal-clear focus skilled food photography has, and yet sometimes I look at food blogs and wish they had a bit more of a homemade look to them. Should food be about looks, rather than quality and taste?

Just as with food photography, I’m not good at presentation. I plonk food on a plate, and the most decoration it gets is a sprinkle of parsley. I created this dish – the Wagyu burger with a Portobello mushroom, topped with Roquefort. Delicious, hmm? I do wish I could make things look better, so they appear as they taste.

We got the Wagyu burgers in Aldi. If you wanted to add yet more decadent deliciousness, a rasher of streaky bacon grilled to crispness would work well. You could also add a tablespoon of garlic mayonnaise, and if you want to make your own mayo even better. Here’s the recipe if you want to try it out.

It’s easiest to make mayonnaise in a food processor. My grandmother made it by hand. If you want a workout, feel free!

Aioli

  • Difficulty: easy
  • Print

  • 1 whole, large free-range egg
  • 200ml rapeseed oil (I use Scottish cold-pressed)
  • 50ml extra virgin olive oil
  • 1tsp Dijon mustard
  • 1-2tbsp cider vinegar
  • 1 clove, garlic, crushed
  • Salt and black pepper

Place the egg, mustard, crushed garlic and a little salt and pepper in the food processor and run the processor until the yolk is thoroughly mixed and pale yellow.

Put the oil in a jug and with the motor running, pour in the oil very slowly. You must go slowly, or the mayonnaise will not thicken up. Slowly means letting it drip in.

Once you have added about two-thirds of the oil, add 1tbsp of vinegar to thin it a little. Add the rest of the oil, taste and season with salt and pepper if necessary. You might want to add another tablespoon of vinegar for flavour and to thin the mix a little. It will taste very garlicky at first, but the flavour will soften over time.

Thanks to the rapeseed oil, your sauce will be the most beautiful golden colour.

The carb count for two tablespoons of mayonnaise is negligible.

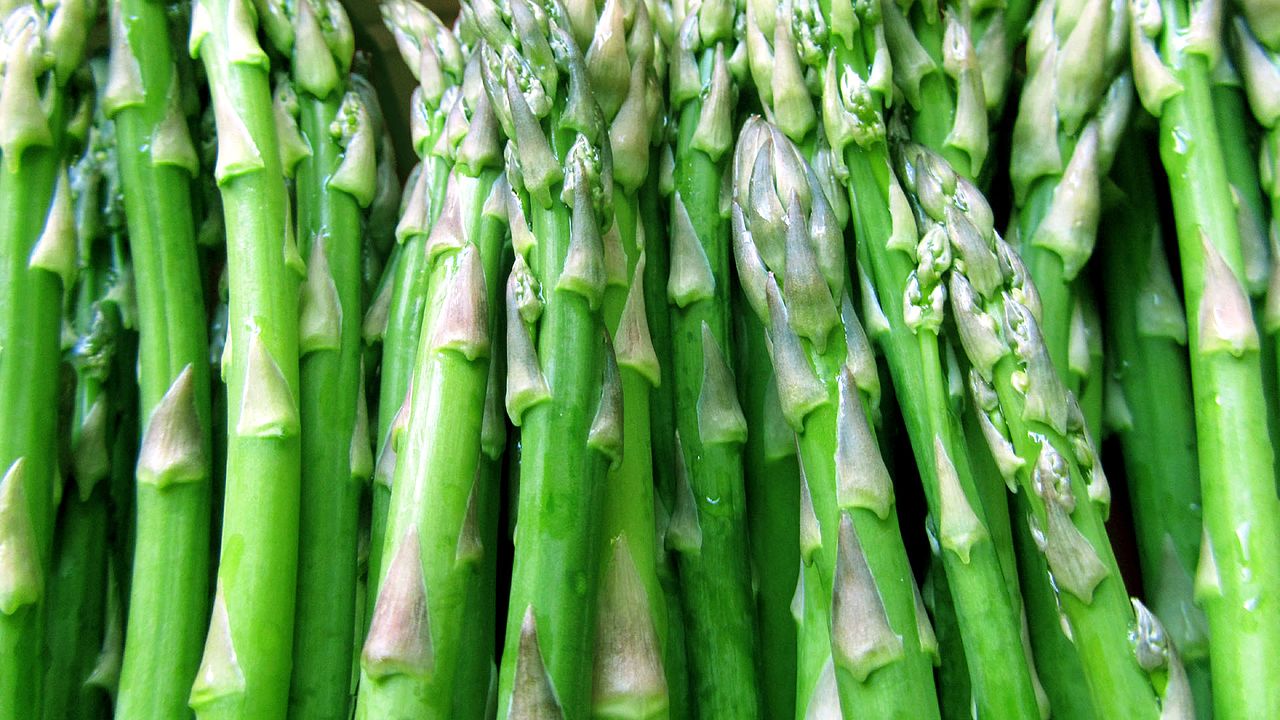
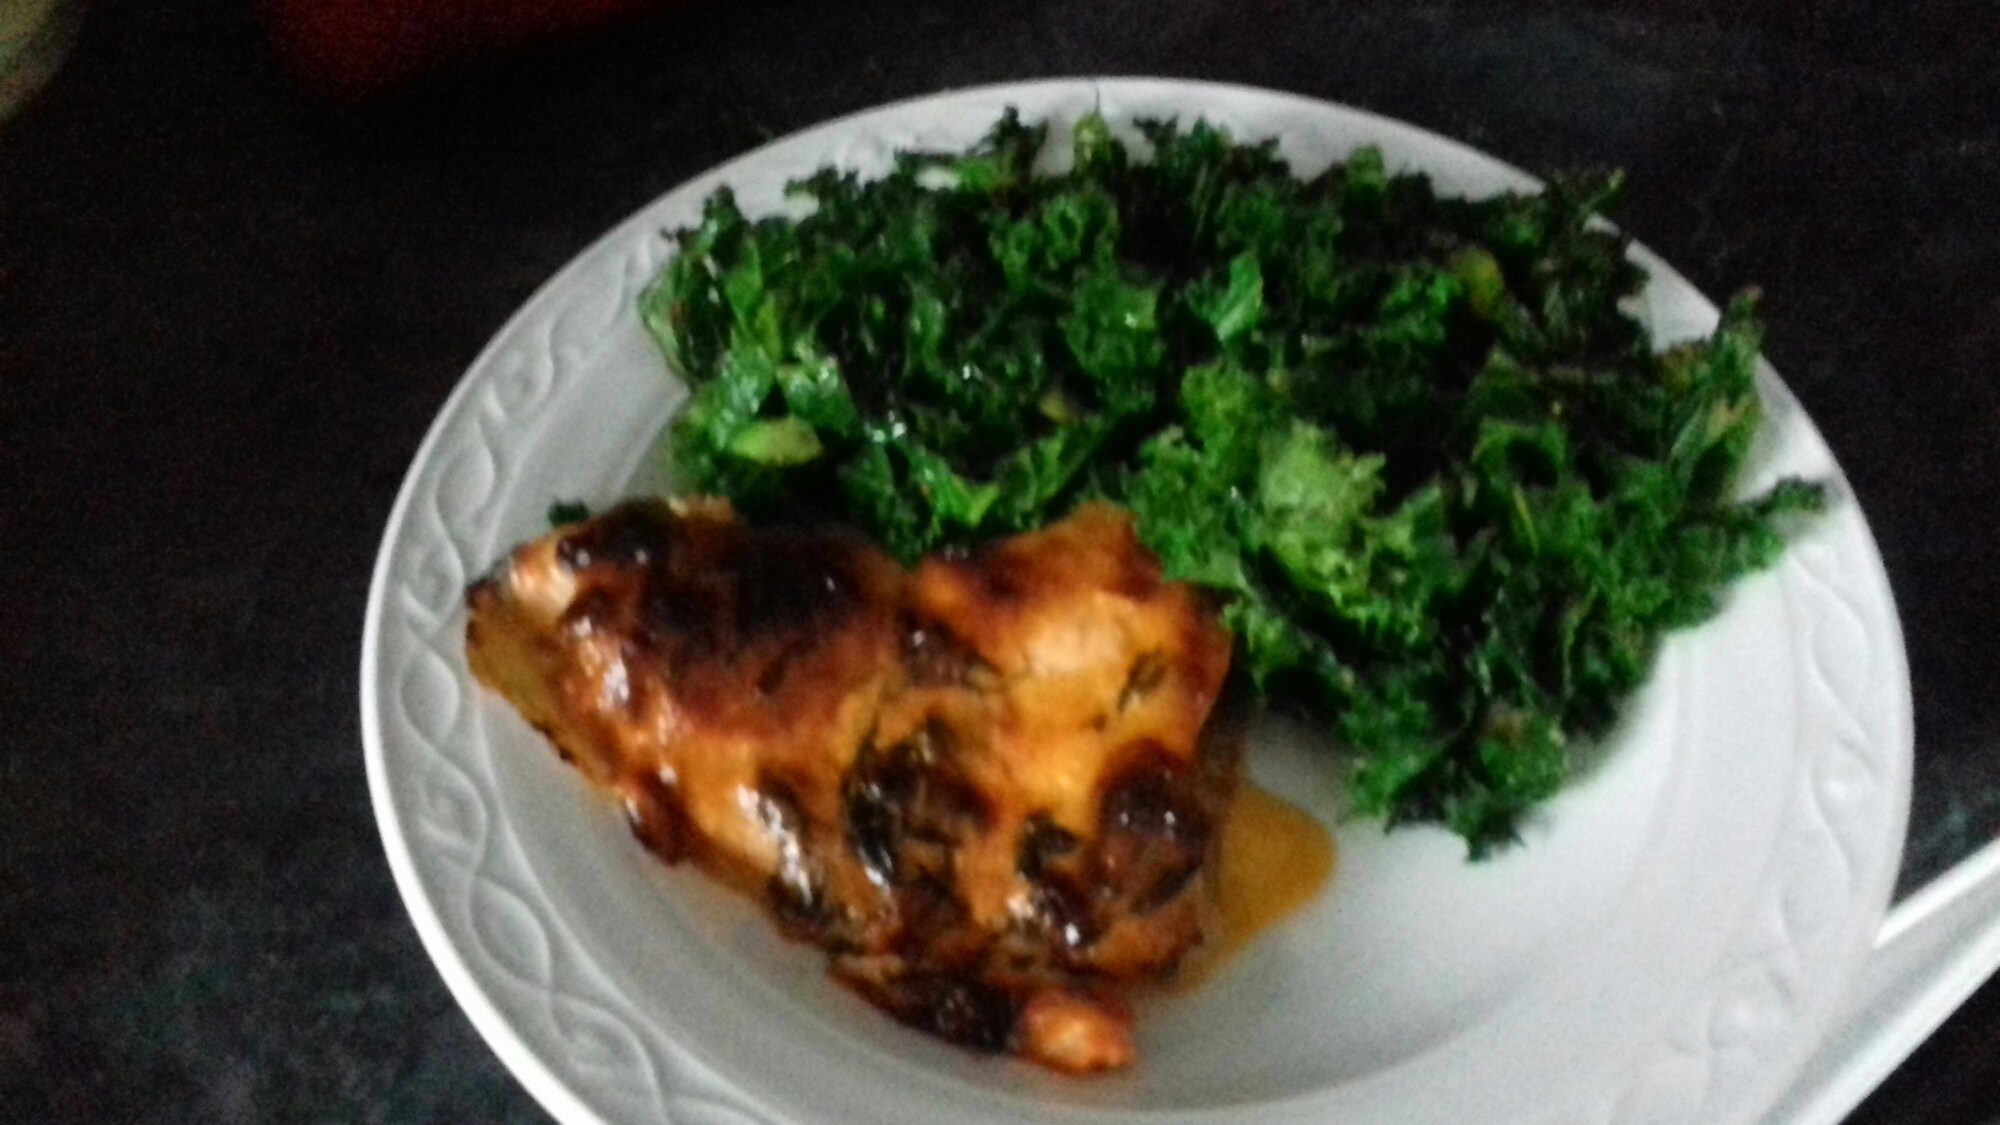
Aioli is delicious with so many things. Dip the last of the season’s asparagus in it, spread it on slices of low-carb bread, have it with chicken or fish, and anoint roasted vegetables with generous dollops.


Carrot & Almond Soup

Soup, you say, that’s winter fodder, isn’t it? I could eat (drink?) soup any time of the year, so spring doesn’t put me off a big, warm bowl of comfort.

But during the warmer months, you might want to lighten up a little. This delicately-flavoured soup is perfect for spring and it full of goodies. I spotted these tempting-looking dirty carrots at our local farmers’ market on Sunday and pounced. They were always destined for the soup pot.

When I first went low-carb, I avoided carrots as there were some hardliners at the time who insisted carrots were too sweet. Then, I gave myself a good shake. “Nonsense! The carrot is delightfully delicious.” Carrots as a carb to be concerned about is very much sweating the small stuff. Avoid the cakes, sweets, pastries and overloads of pasta, rice and potatoes instead.

[It’s a bit of a cheek to call this a recipe, as it’s so easy it’s not true…]

  • Carrot and Almond Soup

    • Servings: 4
    • Difficulty: easy
    • Print

    2 medium onions, chopped
  • 2 cloves garlic, crushed
  • 4 large carrots, peeled and chopped
  • 40ml freshly squeezed lemon juice
  • 1-litre chicken stock
  • 100g ground almonds
  • Salt and pepper

Put the carrots, onions, garlic and stock in a large saucepan/stock pot, bring to the boil, turn down to a simmer and cook until the carrots are soft. It should take about 10-15 minutes, depending on how small you have chopped your carrots.

Take the pan off the heat. Add the ground almonds and lemon juice, and puree with a stick blender until smooth. Add salt and pepper to taste.

I like to top this with a poached egg for extra protein/satiety*.

Allow about 11g net carbs for serving for four or about 14g for three.


*That’s a lie. I meant two eggs…

Sausage and Onion Frittata

Image result for sausagesHopefully, wherever you are in the world, you get to eat outside regularly. As you may know, the authors of this blog live in Scotland where outdoor eating isn’t possible for most of the year.

We’ve just enjoyed an exceptionally beautiful May in the West of Scotland, though, and it did present opportunities for al fresco dining. Frittatas are delicious anyway, but when you eat them outside, they taste that little bit better.

The frittata is a friend to the low-carb diet. Try this one with some green salad leaves.

Sausage and Onion Frittata

  • Servings: 2-3
  • Difficulty: easy
  • Print

  • 4 good-quality pork sausages
  • 2 small onions, finely sliced
  • 100g mushrooms, sliced
  • 4 large, free-range eggs
  • 1tbsp oil or butter
  • 75g strong cheddar cheese, grated
  • 2tsp wholegrain mustard
  • A few sage leaves, chopped
  • Salt and black pepper

Grill the sausages according to the packet instructions until cook through. Chop into chunks.

Heat the oil or butter in a large pan and fry the onions and mushrooms until cooked. This takes about five minutes. Add the sausage chunks and cook for another 30 seconds or so.

Mix the eggs with the cheese, mustard and sage leaves. Add to the pan and tip to coat everything evenly. Lift the edges of the frittata with a spatula to allow the uncooked egg mixture to run underneath. If necessary, you can finish off the frittata under a grill set to medium-high.

Serve with a dressed green salad or some broccoli with butter. Count 10g of net carbs for two servings and 7g for three.

Heri’s health points: Great meal planning app for all sorts of food plans

screen-shot-2016-11-18-at-1-53-45-pm

This was my typical work day a year ago:

  • Grab a bowl of cereal or whatever there is in the fridge for breakfast.
  • Run to the subway and grab a coffee on my way to work.
  • A bagel with cream cheese, a shawarma, a muffin or whatever I could find at lunch. This would coincide with my third cup of coffee of the day. Other times, I went to a restaurant for a business meeting and this would be my main meal of the day.
  • Go to a networking evening event and eat whatever they have. Pretzels, beers, coffee, chips, you name it. If there is no event, I would otherwise pick up a hefty meal from a neighboring restaurant on my way home.

Repeat this five days a week and you have a recipe for disaster. It is a diet composed of processed foods, refined carbs and inflammatory foods that lead to obesity, Type 2 Diabetes, or worse.

The sad state of affairs prompted me to get Mealime, a free app available on Android and iPhone. It is also available on the web, but this 9 months review only covers the mobile app.

I find Mealime is an excellent meal and nutrition planner. Akin to having a training plan, meal planning allows you to have consistent nutrition that you can easily track, and improve later on. This is good for those with serious athletic goals, who want to have good health or those who have chronic diseases.

Without meal planning, you are more likely to improvise, eat out, and deviate from health goals. It also makes food tracking difficult. Who would wish to list all ingredients in their food if every meal was different? No one.

How it works

Mealime asks for your food preferences on setup. Classics is for most people. Low Carb means limited glucides and instead more healthy fats. Vegetarian is zero meat. There is also Paleo, Pesceterian and Flexitarian, options I didn’t know about.

My goal was to control blood sugar and insulin levels so I chose low carb.


Mealime also asks for allergies and ingredients you dislike. I dislike for example turnips.

After choosing a menu type, it then asks you how many meals you wish to prepare.


If you don’t like a dish, you can swipe left, until you have all the meals you want.

The app then shows a summary of ingredients. I find this very practical when doing groceries.


You know exactly what to get and what not to get. This reduces my stress, and I feel like a master chef 🙂

Hey, we are cooking!

Prior to Mealime, my cooking skills were limited to basic omelettes or making batches of kitchen breasts. Naturally, I was apprehensive. Disaster, anyone?

I was positively surprised to find that Mealime dishes are not difficult to make. They take on average 40 minutes to make and never require any special talent or instruments. It takes a good knife, a pan and an oven. And a smile 🙂


Since then, I changed to a better chef’s knife, a good skillet and more spices but you can always manage with what you have at home.

Easy Meal Planning for the week

I do groceries on weekends, then cook a Mealime dish in the evening. I have a delicious dinner and put the rest in containers. They usually last 3 days, and usually I cook again mid-week.

If we take the baseline of 40 minutes for meal preparation, that means every dish takes me 40 / 7 ~ 6 minutes to make. Surely beats going to a take-out restaurant!

If you favorite a dish, it is always available through a shortcut. For instance, I often make wild atlantic salmon with zucchini and carrots. You can then add the recipe in MyFitnessPal, which means food tracking takes only a few seconds. It’s a nice streamlined process to take control of your nutrition intake.

Dramatic Results

By following the low carb option, and commuting by bike, I lost a lot of weight in a few months (~7kgs). The loss was dramatic and many friends and acquittances could not believe it.

The biggest benefit I find however is great overall energy, eating more vegetables, and learning to appreciate good food cooked at home. This is a life skill I underestimated previously and I am glad Mealime helped.

It also makes my life easy, and lets me invest my time elsewhere.

A Perfect App?

I have not used other food apps so I can’t say on how it compares to other competitors. I can say however Mealime is great for those with limited time and want to cook healthy meals. It provides nutritious fuel for my running and daily work and can wholly recommend it. Download it and give it a go !

Low-Carb Lunches – Asparagus Soup

asparagusAsparagus – I’m not 100 percent keen on it as a side vegetable, but when you fry it with onions and garlic, add in stock and double cream, it becomes something else entirely…

Try this for lunch. When I have soup for lunch, I always add two boiled eggs for extra protein. It also makes an unbelievably filling dish. You might struggle to finish it all.

Asparagus Soup

  • Servings: 3
  • Difficulty: easy
  • Print

  • 400g asparagus
  • 2tbsp rapeseed oil
  • 1 medium-sized onion, sliced
  • 1 clove garlic, crushed
  • 1tsp salt
  • Freshly-ground black pepper
  • 600ml water or chicken stock
  • 60ml sour or double cream

Chop the asparagus into one-inch pieces. Fry in a saucepan with the rapeseed oil for five minutes. Add the onion and garlic, cover the pan and cook over a gentle heat for another five minutes.

Add the water or stock, and salt and pepper. Bring to a boil and then turn down to a simmer for ten minutes.

Add the cream or double cream and blend until smooth. Adjust the seasoning to taste.

4-5g net carbs per serving.

Asparagus wee… if you’re someone who gets this (your pee smells really strong after eating asparagus), Asparagus soup is going to give you a bad dose of it. There’s an explanation here about what causes asparagus wee why some people get it and others don’t. 


Seasonal Low-Carb Dishes

diabetes diet
Mediterranean trout with kale.

February is almost at an end – as it the season for many fruit and vegetables we associated with this time of year.

Nevertheless, we’ve done a round-up of what’s in season at the moment. If you eat seasonally, you get food at its best. It also means less food miles, as the food can be produced in the UK and has therefore not had to travel as far to get to your plate.

Fruit

  • Lemons
  • Clementines (coming to the end of their season)
  • Pears (coming to the end of their season)
  • Kiwis

Vegetables

  • Brussel sprouts
  • Cauliflower
  • Celeriac
  • Leeks
  • Kale
  • Purple sprouting broccoli

Meat and fish

  • Turkey
  • Salmon

If you want some recipe ideas for what to do with what’s in season, you could try:

Enjoy!


Jovina Cooks Italian: Marsala mushroom sauce


mushrooms


Once again Jovina shows us how little additions of garlic, herbs and wine can bring a little touch of Italy into your life, wherever that is. 

Garlicky Marsala Mushroom Sauce

This sauce can be  folded into an omelet or served with pan-fried chicken breasts or over pork chops.

Ingredients

  • 5 tablespoons extra-virgin olive oil, divided
  • 1 pound white mushrooms, caps quartered
  • 1 pound shiitake mushrooms, stems discarded, caps quartered
  • Salt and freshly ground pepper
  • 4 large garlic cloves, 2 thinly sliced and 2 minced
  • 1 medium shallot, thinly sliced
  • 1 1/2 teaspoons minced rosemary
  • 1/2 cup dry Marsala wine
  • 3 tablespoons balsamic vinegar
  • 6 Kalamata olives, pitted and coarsely chopped
  • 2 tablespoons minced chives

Directions

In a very large skillet, heat 2 tablespoons of the olive oil. Add the white and shiitake mushrooms, season with salt and pepper, cover and cook over moderately high heat for 5 minutes, stirring once. Uncover and cook over high heat, stirring once, until the mushrooms are browned all over, about 3 minutes.

Add the sliced garlic, the shallot and rosemary and cook, stirring, until fragrant, about 2 minutes. Add the Marsala and cook until evaporated, about 30 seconds. Add the vinegar and cook, stirring, for 30 seconds. Stir in the minced garlic, chives, olives and the remaining 3 tablespoons of olive oil and season with salt and pepper. Cover and keep warm.

From Cooking The Italian Provinces – Trapani | jovinacooksitalian

Leoni at Low Carb Store: Blueberry and Lemon Loaf

lemon-181650_960_720This recipe is from Low Carb Store and was invented by Leoni, their resident dietician.


Ingredients

  • 125g almond flour
  • 3 eggs
  • 75g inulin
  • 100g blueberries
  • Zest of 1 lemon
  • 45g butter
  • 2 tsp vanilla extract
  • 1 tsp baking powder

Nutrition Per Slice

Recipe makes 10 slices


Net (Total) Carbs 2.3g
Fat 8.5g
Protein 4.9g
Fibre 7g
Calories 122kcal


Create It


Pre-heat your oven to 180°c then grease and line your loaf tin (we used a 12cm x 28cm). In a mixing bowl combine the almond flour, eggs, baking powder, vanilla and butter. Next gently fold in the berries, lemon zest and inulin using a spoon. Pour into your prepared tin and bake for about 25 minutes, until your kitchen fills with a delicious aroma and the loaf is golden brown. Devour hot and buttered!


Options – keep a few berries back and add to the top of the loaf before popping in the oven. You could also try adding some dark chocolate chunks if your carbs allow or some cinnamon for a hit of autumnal spice! Get creative and make it your own.

Low Carb Side Dishes

diabetes dietHave you been caught out by the vegetable shortage in the shops? British supermarkets have run short of courgettes, spinach and other salad items thanks to bad weather in Spain and Italy.

If you follow a low-carb diet, you probably rely more on such vegetables than the average person. I decided to see what I could do with Scottish ingredients. The Diet Doctor website features a lot of cabbage, including main course and side dishes that use this vegetable. Most supermarkets stock Scottish or British-grown cabbage so there are no issues there with availability.

The Diet Doctor’s Cabbage Casserole can be made exclusively with Scottish ingredients, supporting our farmers and growers. I adapted the recipe slightly and here it is. Allow about 10g net carbs per serving and serve with pork chops, roast chicken legs or steak.

Please note – you’ll need a large saucepan because 450g cabbage is bulky. It reduces in size as it cooks.

Cabbage Casserole

  • Servings: 3
  • Difficulty: easy
  • Print

  • 450g green or white cabbage, shredded
  • ½ medium-sized onion, sliced
  • 1 clove garlic, crushed
  • 150ml sour cream
  • 50g butter
  • 75g grated cheese
  • 75g soft cheese, such as Philadelphia
  • Salt and pepper

Pre-heat the oven to 180 degrees C.

Melt the butter in a large saucepan. Add the cabbage and onion and mix well to coat in the butter.

Cook gently for about seven minutes. You want the vegetables to be softened but not browned. Add salt and pepper and the garlic and cook for one minute more.

Mix the sour cream and soft cheese. Stir into the cabbage. Place the mixture in an ovenproof dish, top with the grated cheese, a good helping of black pepper and cook in the oven for 15 minutes.

PS – I thought I’d try this on my green vegetable hating husband, convinced that the cream and cheese would convert him. It didn’t work…

Jovina cooks Italian: Meatloaf

minced-meat-74241_960_720

Meatloaf Tonight

by Jovina Coughlin

Italian Style Meatloaf

This dinner can serve 8. Less and you have plenty of leftovers.  I add lots of vegetables to my meatloaf and, of course, lots of Italian flavors. Meatloaf freezes well and I usually cut extra slices off the loaf to freeze individually to use at a later date. Just defrost overnight in the refrigerator.

Ingredients

·         Half a sweet onion, finely chopped

·         1 celery rib, finely chopped

·         1 tablespoon minced garlic

·         1/2 cup finely chopped red bell pepper

·         1/2 cup shredded carrot

·         1 1/2 teaspoons salt

·         1 1/2 teaspoons freshly ground pepper

·         2 teaspoons Worcestershire sauce

·         2 cups tomato (marinara) sauce, divided

·         2 pounds lean ground beef (I use grass-fed beef)

·         1 cup Italian flavored dried bread crumbs

·         2 large eggs, beaten slightly

·         1/3 cup minced fresh parsley leaves

·         1 cup shredded mozzarella cheese

Directions

Preheat oven to 375 degrees F.

In a large bowl, combine the beef, eggs, vegetables, bread crumbs, 1 cup of the tomato sauce, seasonings and parsley with your hands until thoroughly mixed.

Form into a loaf and put into a rectangular baking pan with 2-inch high sides.

Bake the meatloaf in the oven for 1 hour. Pour the remaining 1 cup of tomato sauce over the meatloaf and sprinkle with the mozzarella cheese.

Return the dish to the oven just until the cheese melts.